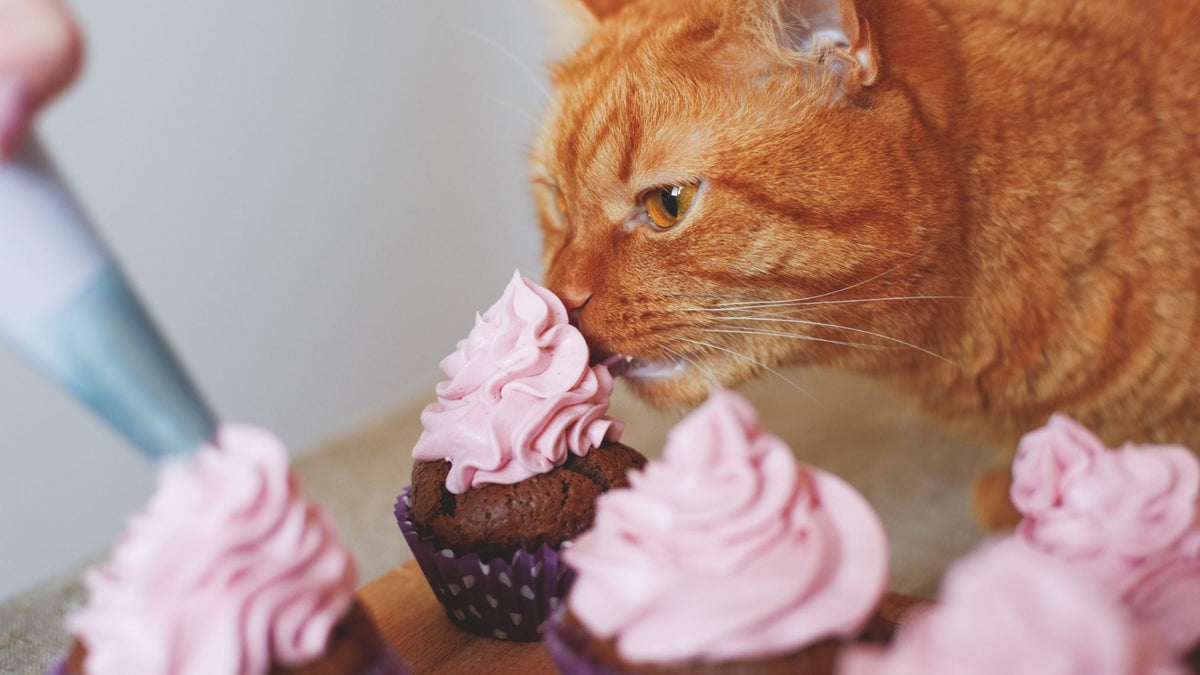
How to Decorate Homemade Dog Treats
Time to read 2 min
Tips on How to Decorate Homemade Dog Treats using P4P Icing
You can use your own dog treat icing recipe to decorate dog treats, just know that before you start to decorate homemade dog treats with your own recipe, you will want to double check to be sure the ingredients you choose are safe for dogs to eat.
If you choose to use P4P Icing or Frosting you won't ever need to worry about our products being safe for dogs because Pastries 4 Pets is a licensed dog treat ingredients manufacturer and we are huge dog lovers!
The tips in this article are specifically for Pastries 4 Pets products and start with rolling out any of your favorite dog treat recipe doughs.
🐾 After you decide on the shape of your dog treat, roll and cut out numerous shapes of the same treat so you can practice.
🐾 Measure a half cup of dog treat icing mix and (if you are using) colored food powder, stir them into each other then add water. If you are using food color gel, add the color after you add water.
🐾 Check the instructions on your favorite P4P icing mix and mix up a half cup of dog treat icing ( a half cup fits better in the decorating bag so you can practice easier).
🐾 Pour the icing into your decorating bag and cut a small hole where the tip is so you can decorate. (or use a decorating tip)
🐾 Apply a "flood" of icing to your baked dog treat and set it aside for a few hours to let it dry.
🐾 Now mix the color of icing that you want to add details and/or writing to the top of your treat.
🐾 After you are finished decorating your dog treats, let the entire treat air dry for 12 - 24 hours - do not refrigerate or it will never dry.
Pro Tip
If you have leftover icing, you can refrigerate it, in an air tight container, for up to three days. You can add a tiny amount of water to it, stir and use it again. Do NOT microwave it, trust us!
Or you can use your leftover icing to pipe dots or lines on parchment paper, let the icing air dry then break the lines up to use a sprinkles in the future. The dried icing sprinkles have a really long shelf if you store them in a cool, dry, dark environment. (a kitchen cabinet is normally fine).
Here is a video demonstration that shows some tips on how to decorate dog treats like a professional.

Pro Tools
There are many styles and budgets for decorating dog treats. Some "essential" tools that are nice to have are:
🐾 Decorating bags (Disposable or cloth)
🐾 Decorating tips (we prefer tip #3 for "flooding" and adding details and #2 for writing
🐾 All Natural Dog Safe food colors or human grade gel food color
🐾 Dog safe, no sugar added dog treat icing or dog frosting
🐾 Mixing bowls
Pro Resources
➜ For Dog Treat Icing that dries hard and All Natural Food Color visit Pastries 4 Pets
➜ For Complete Dog Treat decorating kits and workshops visit Pastries 4 Pets Online Classes
How to own a profitable dog bakery (free training)
The secret to building a profitable bakery does not come overnight, this training is between 1 - 2 hours and covers great tips for bakers looking to start a bakery and for bakers who already own a dog treat business. The best part is that the training is free! You can join by signing up and choosing a time that works best for you.


